refer to:
https://spring.io/quickstart
创建骨架代码
进入 https://start.spring.io/ 会看到这样的页面。
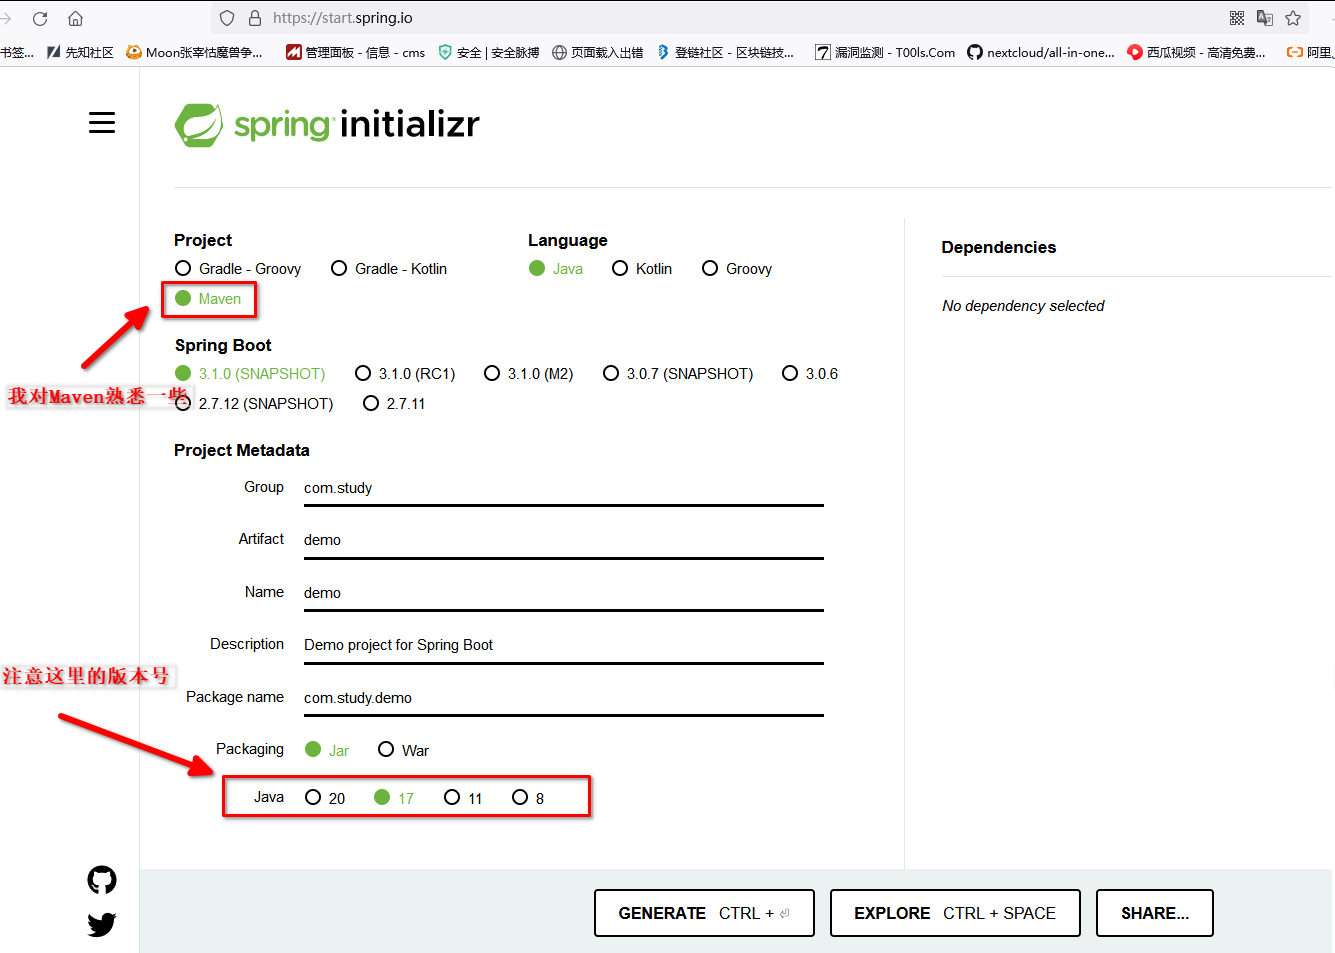
特别神奇,为啥不用cmd 呢?
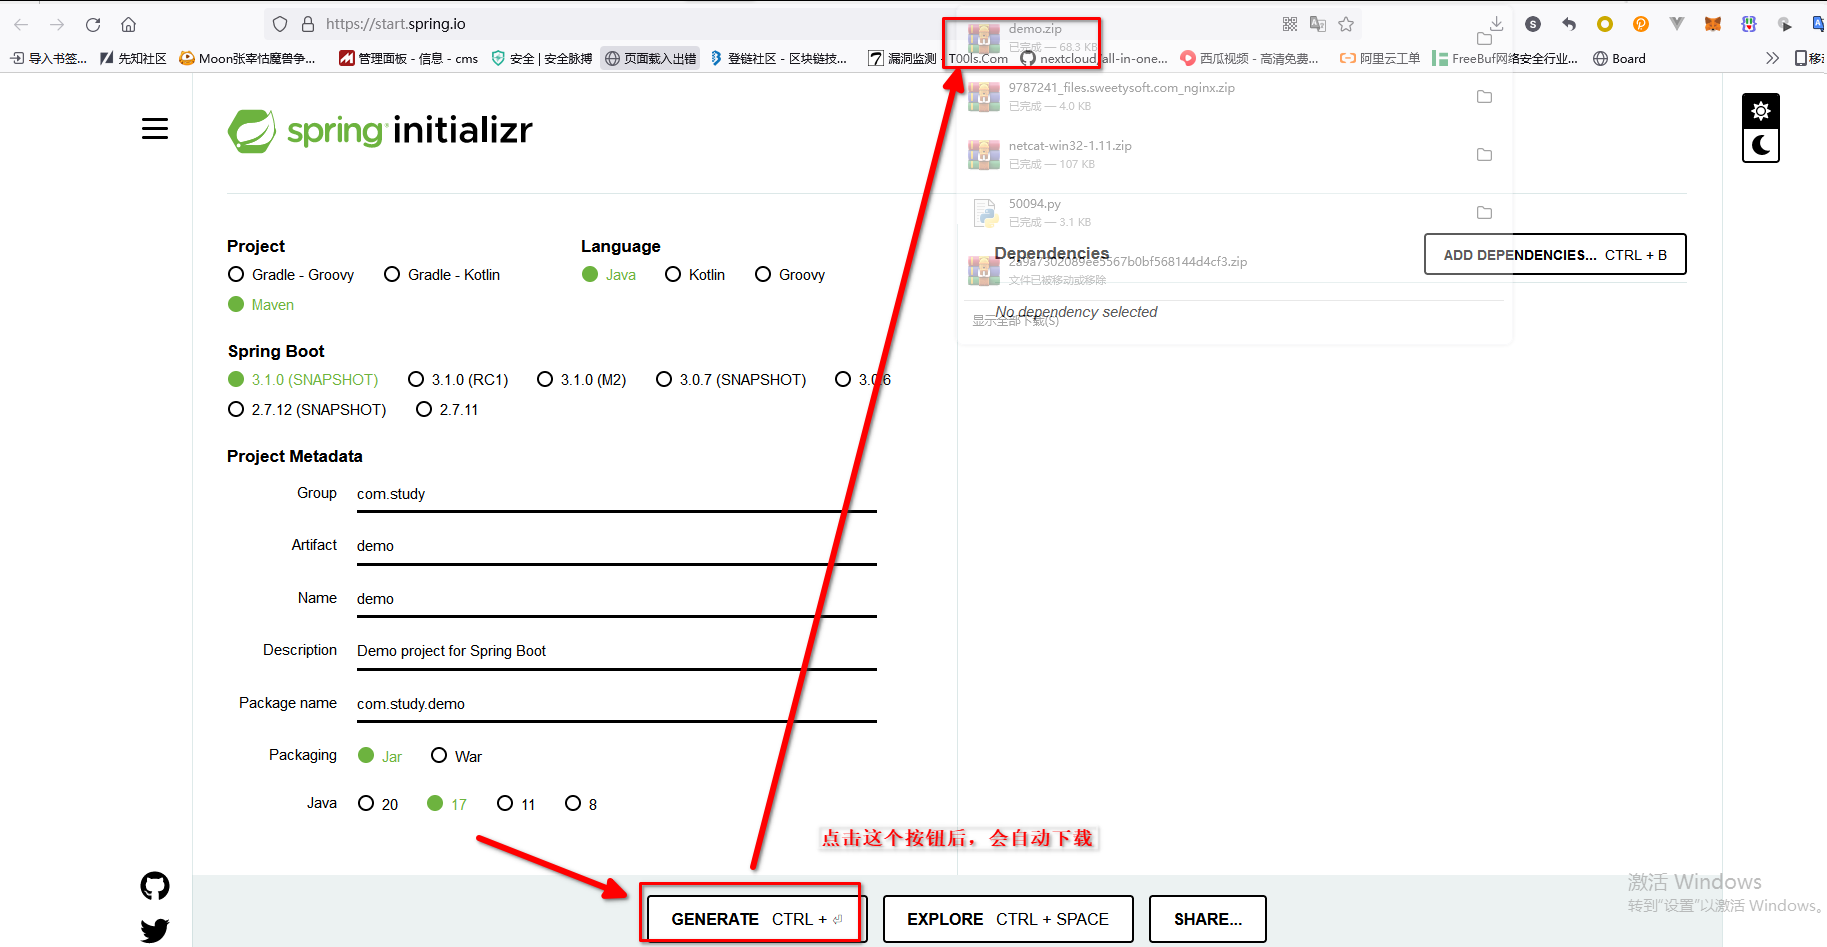
解压缩:
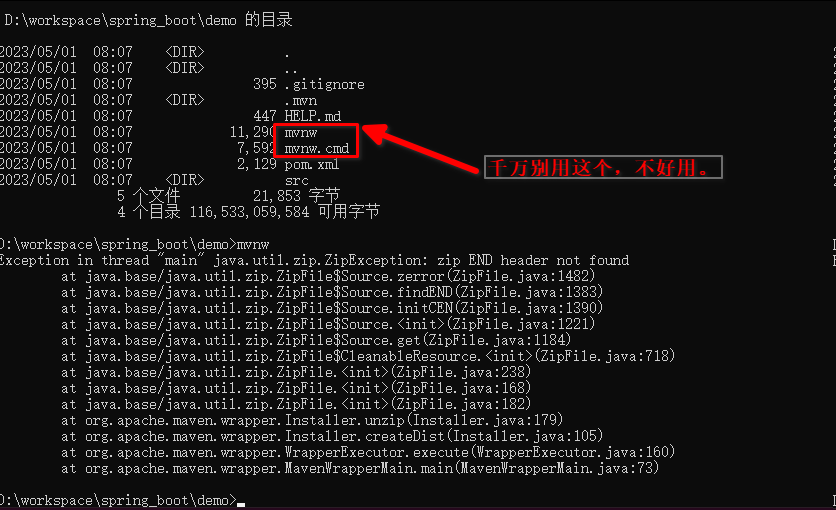
并确定好你的java 版本,检查 maven版本是否跟pom.xml 中的一致。 不一致的话安装asdf maven
修改pom.xml ,在build节点中增加:
<defaultGoal>compile</defaultGoal>
否则会报错:
[ERROR] No goals have been specified for this build. You must specify a valid lifecycle phase or a goal
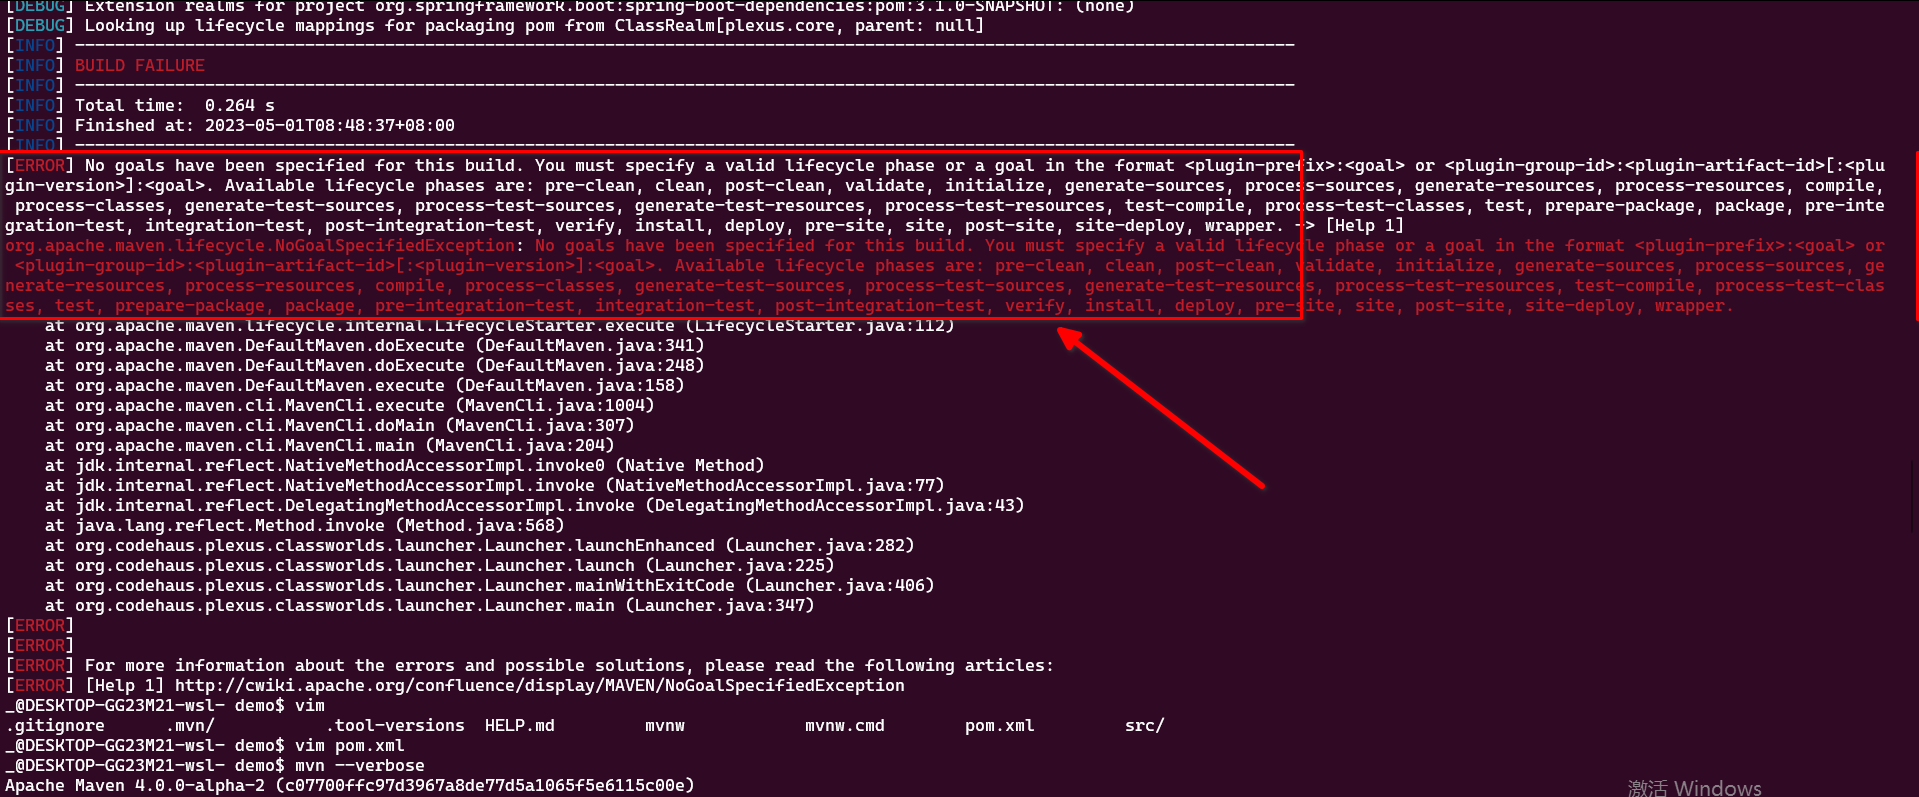
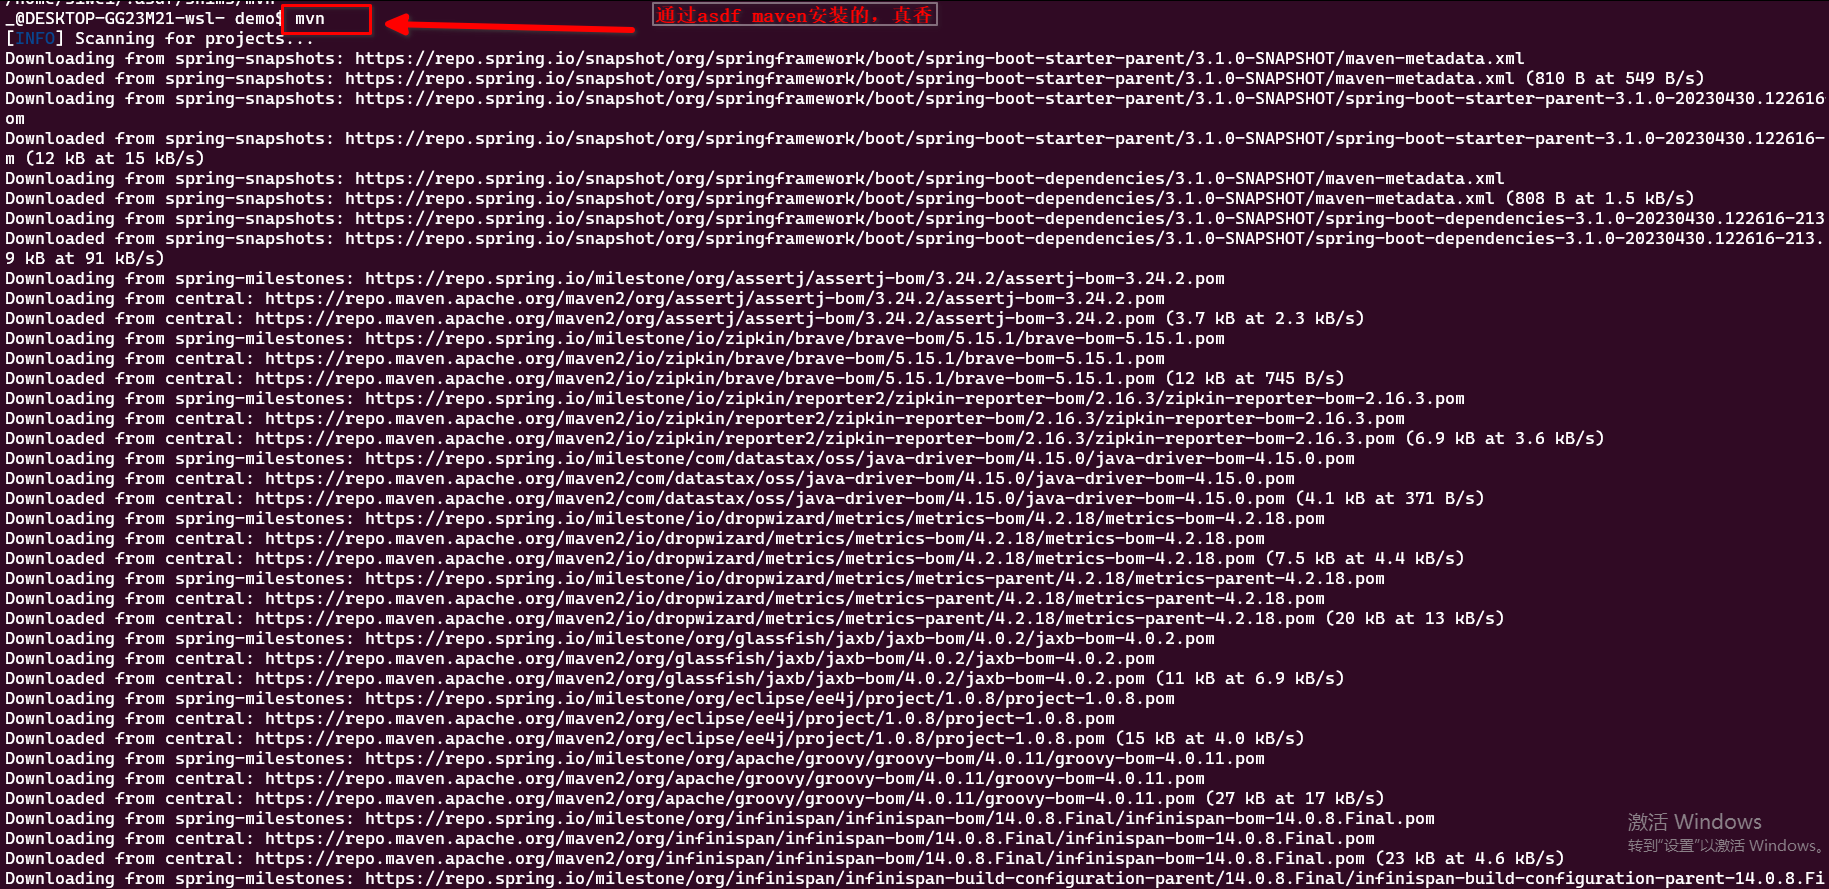
第一次运行特别慢,哪怕是我开了梯子。
看一下源代码,啥都没有。空空的。
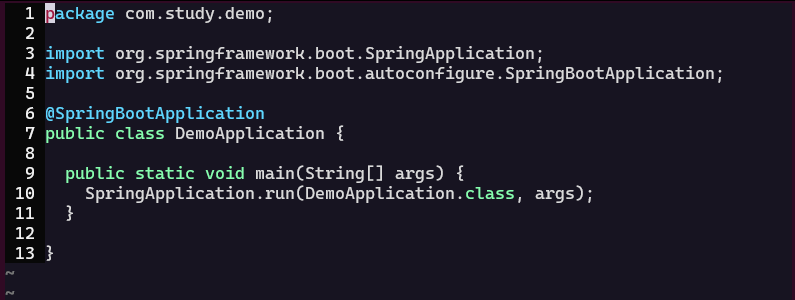
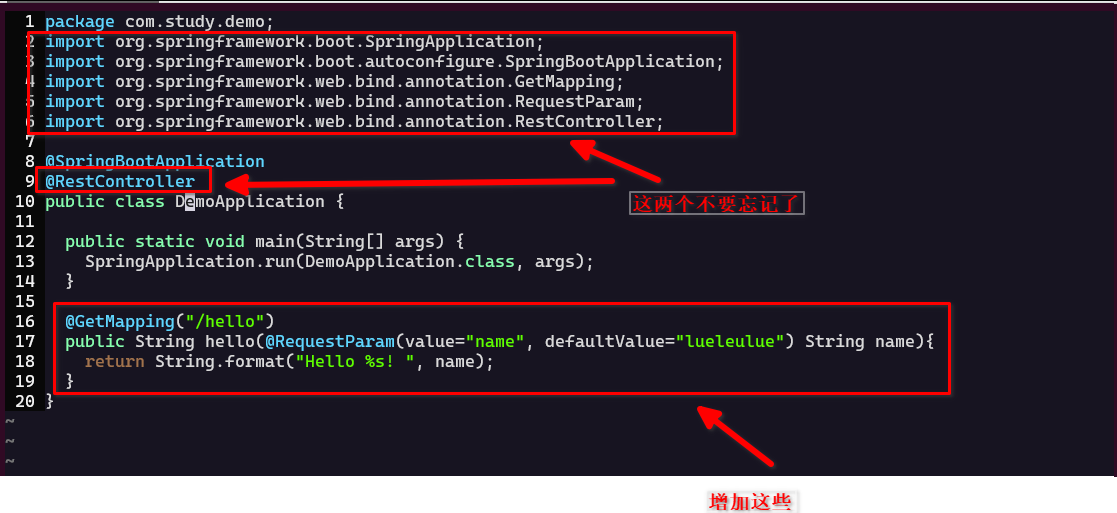
完整代码为:
package com.study.demo;
import org.springframework.boot.SpringApplication;
import org.springframework.boot.autoconfigure.SpringBootApplication;
import org.springframework.web.bind.annotation.GetMapping;
import org.springframework.web.bind.annotation.RequestParam;
import org.springframework.web.bind.annotation.RestController;

@SpringBootApplication
@RestController
public class DemoApplication {

  public static void main(String[] args) {
    SpringApplication.run(DemoApplication.class, args);
  }

  @GetMapping("/hello")
  public String hello(@RequestParam(value="name", defaultValue="lueleulue") String name){
    return String.format("Hello %s! ", name);
  }
}
运行
$ mvn springboot:run
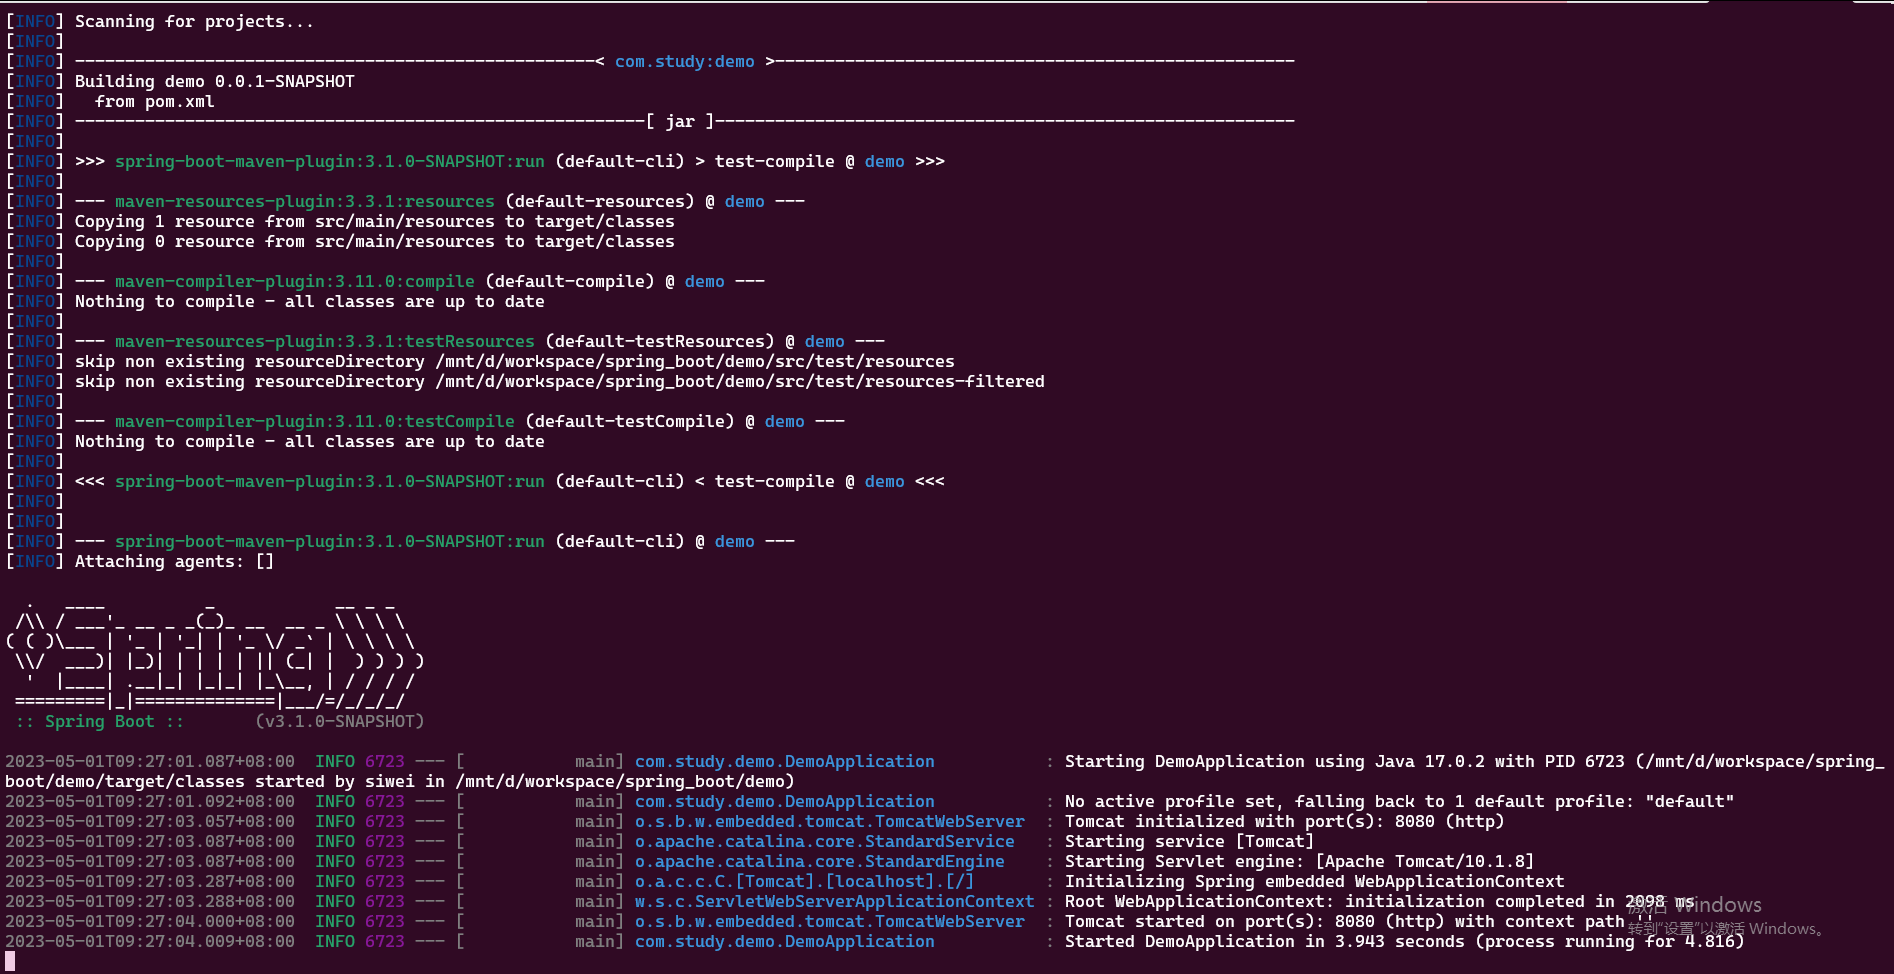
访问 http://localhost:8080/hello?name=wangdaming
curl http://127.0.0.1:8080/hello
Hello lueleulue!
curl http://127.0.0.1:8080/hello?name=jim
Hello jim!
即可。
修改服务器的IP与端口号
# src/main/resources/application.properties

server.address=0.0.0.0
server.port=8844

完整代码:
https://github.com/sg552/springboot-demo/tree/main/hello-demo